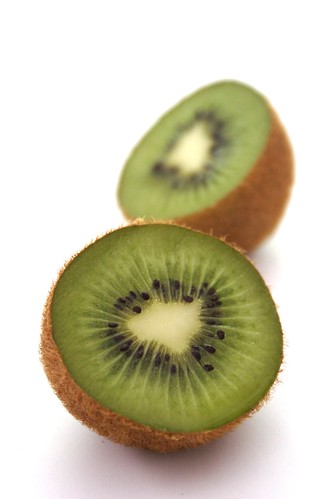
There is not a recipe for a good photo. There is no perfect camera, there is no perfect lens, and there is no perfect lightning. There is only a perfect shot. And what is a good photo is a highly subjective matter. I am not tending to elaborate on this matter as ther are already just perfect tutorials on basics of food photography from Lolo and Helen for My Cooking Hut. I decided to show you how to do some simple editing of your photos. I chose a tungsten day on purpose, as I knew photos would get darker and set White Balance to Auto and had no additional lightning but the daylight. I have a Canon EOS 350D and shoot my images in RAW format. If your camera has that option, and you're still not using it, I suggest you begin. There is a software that came with my camera, but as it's Canon's, I'll show you how to edit photos in Photoshop.
Curves
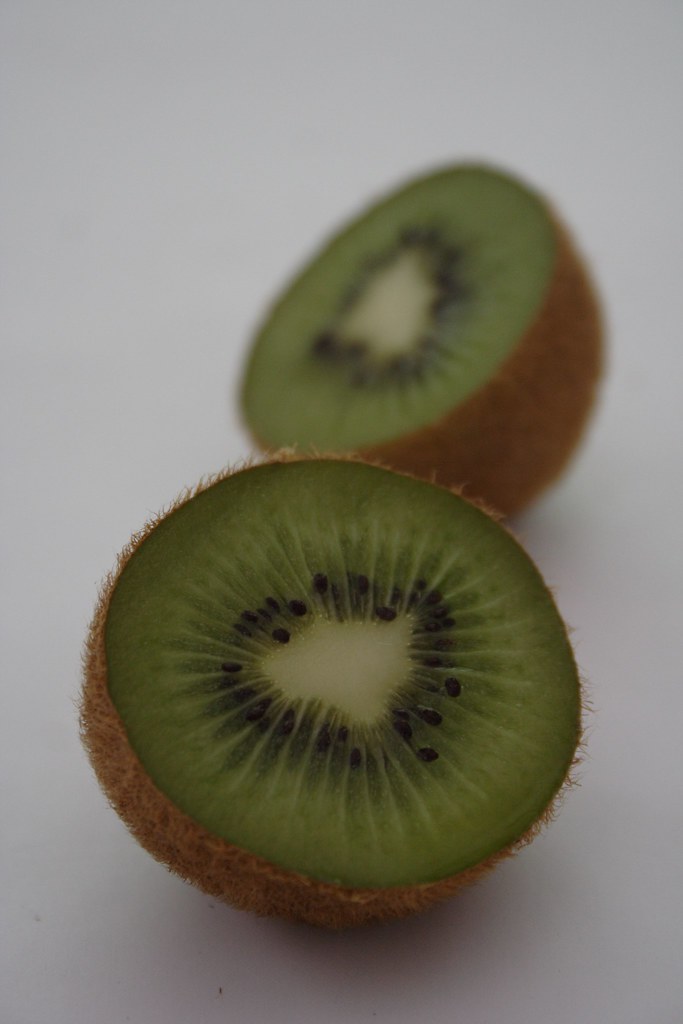
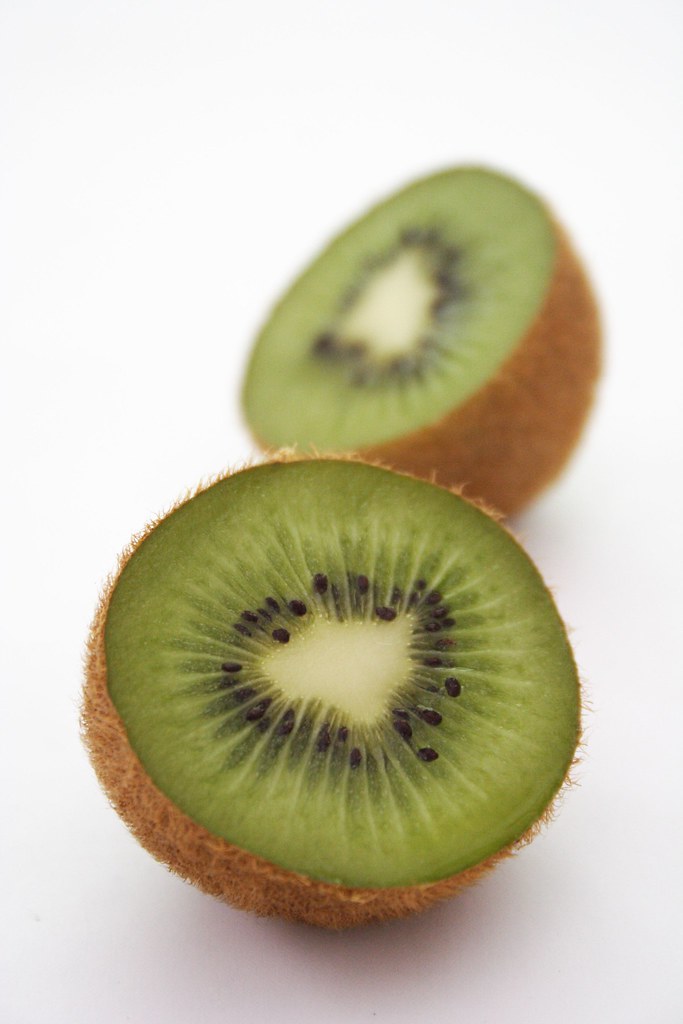
Left: RAW image; Right: curves edited
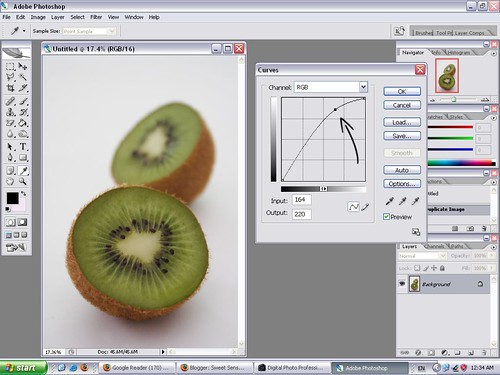
So, what have I done? In Photoshop, click Image->Adjustements->Curves. It will open a small window like on the photo bellow. Move the line in the direction of the arrow until you're satisfied with the result. In order to save it as JPEG you'll have to switch to 8 Bits/Channel (Image->Mode->8 Bits/Channel). RAW image processing operations are performed at 16 Bits/Channel or greater, and Photoshop won't let you save it as JPEG if it's higher than 8 Bits/Channel.
Levels
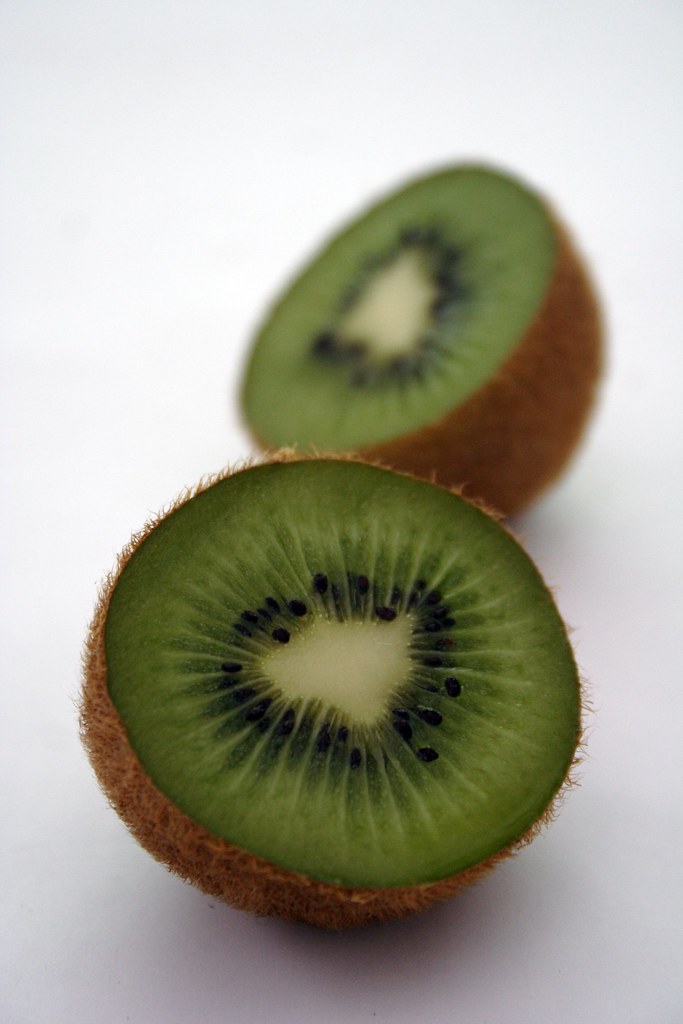

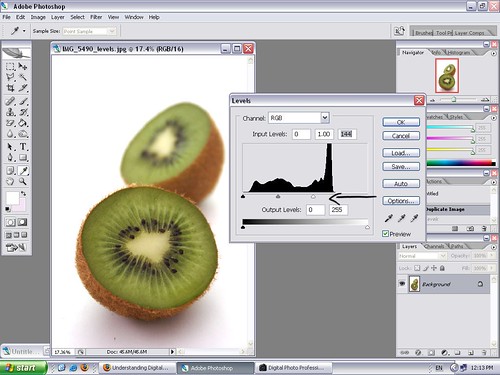
Left: Auto Levels did nothing smart; Right: manualy adjusted levels, much better.
Another useful tool is Levels. There is an Image->Adjustments->Auto Levels, and sometimes it can work miracles, but it was powerless with my kiwi. Manual adjustment is always the best solution (Image->Adjustments->Levels). The photo I got with Level adjustments is not too different than the one with the curves tool, but the white background is whiter, and my kiwi looks more natural.
No RAW? Don't Worry :)
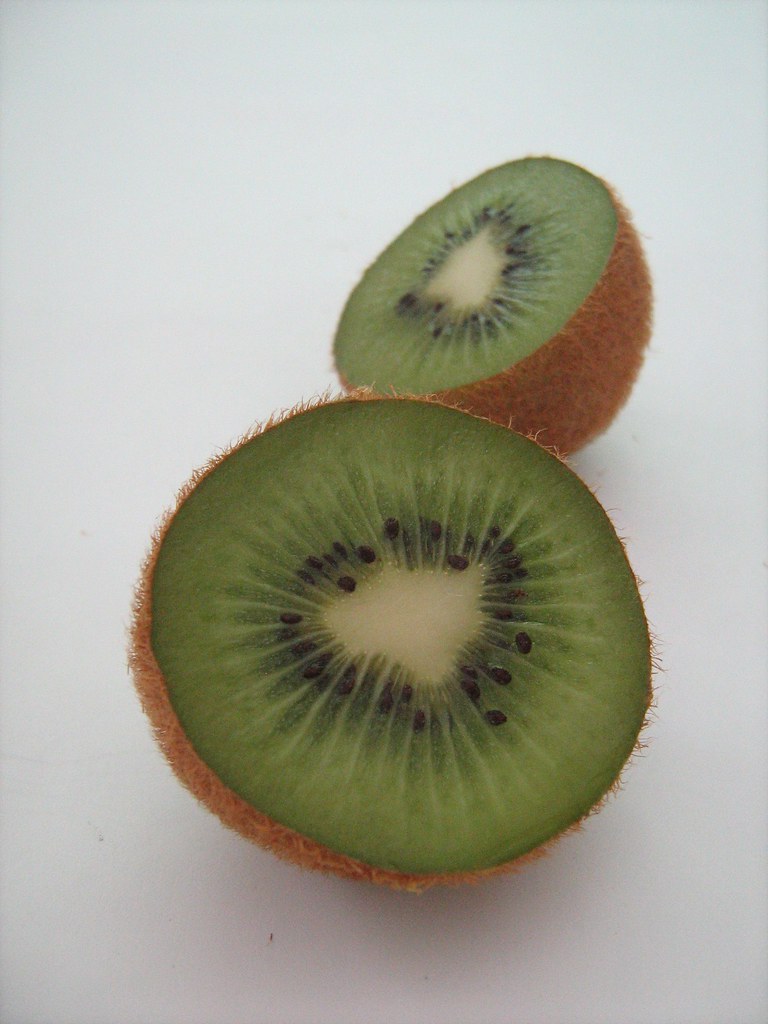
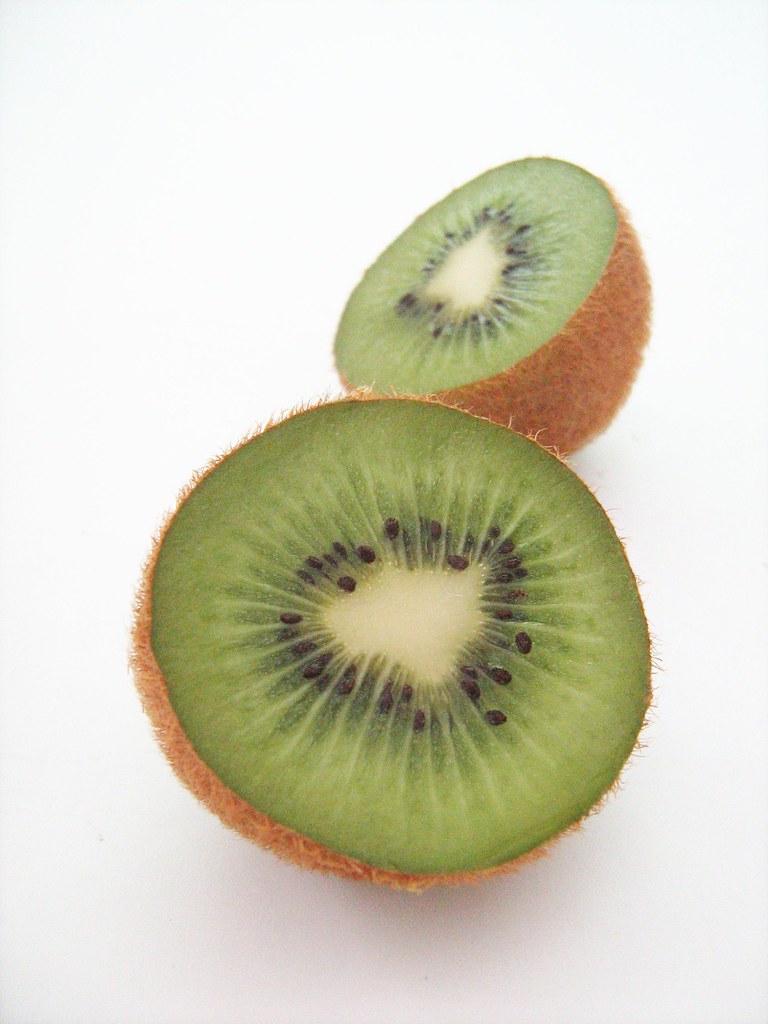
Left: Original JPEG shot with PowerShot A460; Right: curves adjusted
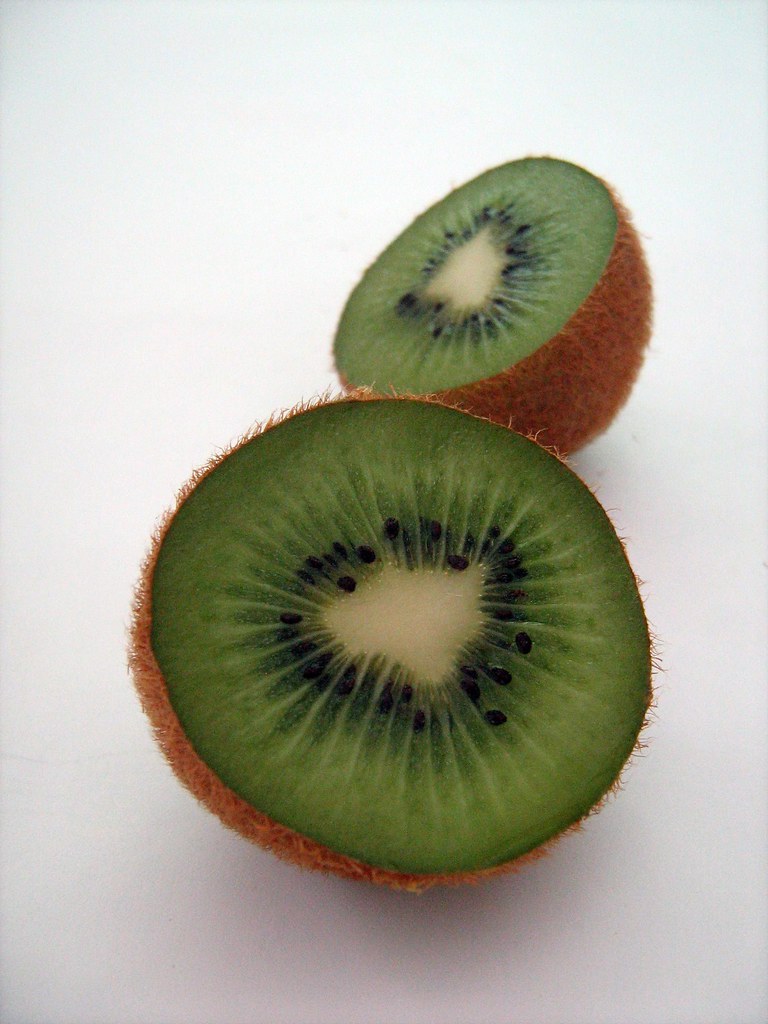
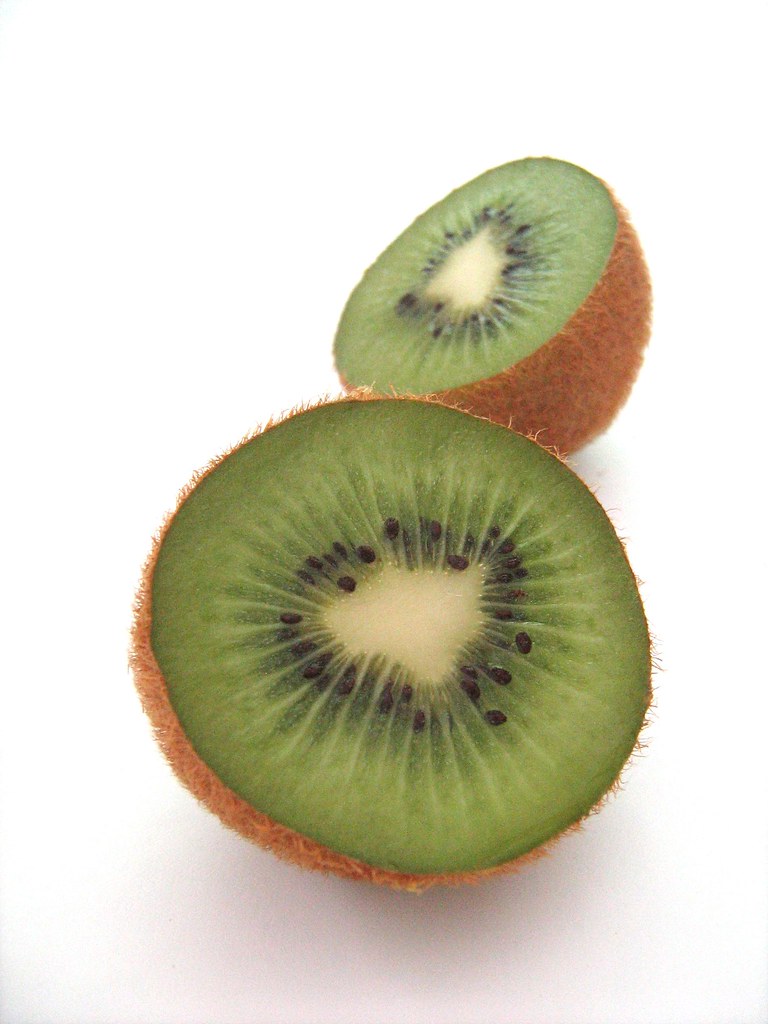
Left: Auto Levels; Right: Manually adjusted levels
For comparison, I tried shooting the same photo with my old camera, Canon PowerShot A460 in Macro mode (that is a flower option). I placed examples of both methods I used. It's not perfect, but it's something. And much better than grayish original.
With my photos, mostly I use curve editing tools, but that's just me :) On a perfect sunny day, you wont need any editing. And for the advanced users, there are many ways to set up a good lightning (Lowel EGO or a DIY version of the same, but more on that in some later post).
GIMP
If you're looking for some free photo editing software, I highly recommend GIMP - The GNU Image Manipulation Program. GIMP doesn't natively work with RAW images. But, there is a small plug-in that will make him to. First, install the GIMP, then UFRaw and you're all set :)
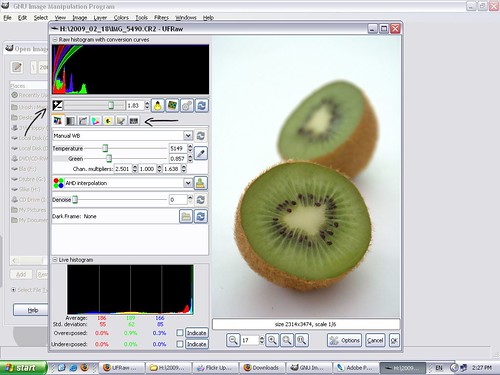
Importing UFraw manager. Arrow on the left shows slider for exposure setting, and the one on the right shows tabs for White Balance, Curves, Color, etc.
After exporting the file into the GIMP (by clicking OK), most of the other options are pretty much the same as in Photoshop.
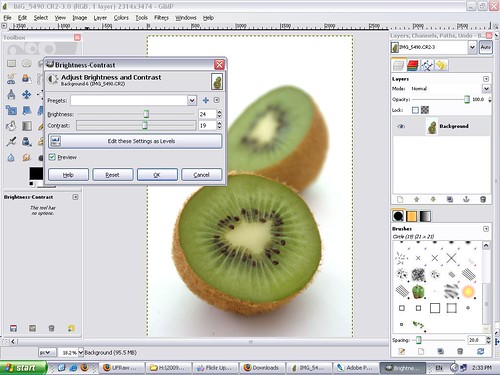
Brightness/Contrast slider in Gimp
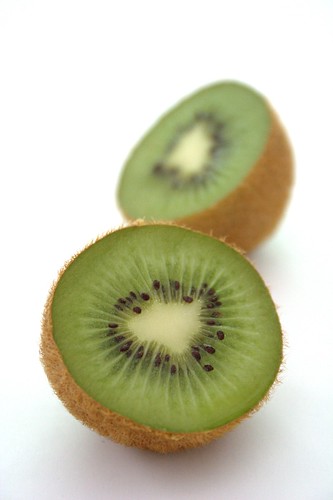
And here is how the kiwi looks like after GIMP. Nice?
There is another high quality free image manipulation program - Paint.NET. But, it requires Microsoft .NET Framework to be installed on the machine. Working with it is pretty much the same as in Photoshop and GIMP. So, if there are any geeks here with VS, I know you won't need instructions on how to install ;) Just give this program a try, you will be very happy with it :)
Wow, you're the best!!! Wonderful tutorial!!! Thank you!
ReplyDeleteslažem se s Medenom:)) svaka čast i hvala!!!
ReplyDeleteBravo Marija, odličan post!
ReplyDeleteJa se zbog prirode svog posla svakodnevno koristim photoshopom tako da sam upoznata s većinom stvari ali ipak mi je ponešto bilo i novo. Sigurna sam da će ovo mnogima pomoći.
Moj fotić ima i Raw format ali ga često zaboravim prebaciti na njega.;) Da je lakši za kasnije hendlanje je istina i mislim da ću ga u budućnosti puno više koristiti.
Tvoje fotke su lijepe i bez obrade pa s njima nema puno posla ali photoshop nije čarobni alat i lošoj slici će teško pomoći. :)
Pa, ti si majstor, pravi geek, meni je sve to komplikpvano, nikad nisam radila u photoshopu...ali vreme je da probam :-)))
ReplyDeleteI have been using my little Cannon PowerShot with a jammed lens so far! I also edit in Word and then Paint. We recently bought a Cannon EOS Rebel XSi but I haven't had much chance to use it (reading the manuals is not a favorite pasttime for me!). Your tutorial will help tremendously when I figure it out. Hvala!
ReplyDeleteGreat tutorial! Thanks for sharing these tips with us!
ReplyDeleteCheers,
Rosa
wow this is great! I ll have to try these :) thanks alot and alot :)
ReplyDeleteGreat information and examples! I recently began experimenting with RAW and also with curves and really like what it does. Now I need some patience!
ReplyDeletehvala puno,bas si me obradovala!
ReplyDeleteGreat photoshop tutorial!
ReplyDeleteGreat tutorial, Marija! You took the time to show us all the tricks and tips that go into food photo editing. Thank you. I love your photos - they are smooth and soft. I use curves and levels too.I don't take pics in raw but I think I should, especially for my cookbook.
ReplyDeleteThank you for this very helpful tutorial! It will certainly help me make and publish better pictures :)
ReplyDeleteWOW Marija. I've saved this brilliant piece of work. Will read it at length & follow it step by step! Fantastic!!
ReplyDeletefantastican post :)
ReplyDeleteOdlican tekst, jasan i koncizan.
ReplyDeleteBravo Marija!
super tutorial! dragi i ja smo počeli konačno sastavljati tutorial za izradu homemade osvjetljenja...nadam se da će se uskoro naći na mom blogu :)
ReplyDeleteovo je genijalno, i ja bih se time trebala pozabaviti, ali do sad nisam imala od koga naučiti tako da će mi ovo jako puno pomoći, HVALA =D
ReplyDeleteThanks so much for sharing these tips. I use the levels and other things but I didn't know about the curves. Very useful!
ReplyDeleteThanks for the simplistic tutorial!
ReplyDeleteNow all I have to do is wait for the perfect shot. :)
Great post,thank you!!!we want more.You have an amazing blog , congratulations.
ReplyDeleteThanks for this tutorial. Very clear and I can't wait to get home to try it.
ReplyDeleteMarija, can I be honest? I have never used photoshop because I found it very difficult to me (shame on my).
ReplyDeleteI'm a newbie at photography and I'm still learning how to use my new Canon 40D, but now after reading your post I feel more confident and def will give photoshop a try....
thank you so much for posting these tutorial, keep doing it!
Thanks for this, it was really helpful!!
ReplyDeleteGreat tutorial. The instructions shared through this photo editing tutorial is really very useful. Simply well-explained. Keep blogging. Thanks.
ReplyDeleteExcellent !!!!!!! Please keep posting .... :)
ReplyDeleteLove it..thanks a lot :D
ReplyDelete